Views: 0 Author: Site Editor Publish Time: 2026-10-13 Origin: Site


Transitioning to water-based adhesives addresses strict VOC compliance and global sustainability mandates. However, this strategic shift introduces a critical manufacturing bottleneck: rapid moisture removal. Unlike traditional solvent-based systems, water possesses an exceptionally high latent heat of vaporization. This physical property demands precise thermal energy management across your entire production line. Improper curing directly degrades tape, label, or specialized film performance. For process engineers and procurement teams, mastering water based acrylic PSA drying dictates the boundary between high-yield production lines and costly batch rejections. This guide breaks down how dynamic drying parameters define final adhesive properties. You will discover exactly how to evaluate formulations against your unique coating infrastructure. Ultimately, we equip you to optimize curing profiles and eliminate moisture-induced defects entirely.
Evaporation Mechanics: Effective water-based acrylic PSA drying requires staged temperature and airflow management to prevent surface skinning and trapped moisture.
Performance Variables: Temperature and humidity directly impact the adhesive's final tack, peel, and shear strength.
Defect Prevention: Controlling the drying environment prevents common acrylic adhesive coating failures like blushing, blistering, and cohesive failure.
Evaluation Criteria: Selecting the right water based pressure sensitive adhesive requires matching the adhesive’s solid content and viscosity to your facility’s existing oven length and line speed capabilities.
Manufacturers constantly balance throughput speed against complete film formation. You want to maximize line speed to increase daily yield. However, pushing webs through ovens too quickly disrupts fundamental polymer coalescence. When water evaporates too rapidly or unevenly, microscopic water pockets remain trapped inside the polymer matrix. We refer to this failure as incomplete coalescence.
Proper curing transforms a wet dispersion into a continuous, functional film. A successfully dried adhesive achieves full internal cross-linking where applicable. It forms a uniform structure across the entire web width. You will observe high optical clarity and consistent coat weight. Optimal adhesion occurs only when no residual moisture remains in the dried layer.
Failed drying carries severe operational consequences. Incomplete moisture removal creates scrapped substrates immediately. Inefficient oven usage spikes energy bills unnecessarily. More importantly, downstream product failures escalate quickly. For example, labels may flag off curved surfaces days later. Protective tapes might delaminate prematurely during transport. Mastering this thermal process prevents these field failures and protects your brand reputation.
Consider the physical mechanics of polymer spheres. As water exits the system, acrylic polymer particles pack closely together. Capillary forces deform these spherical particles. They merge into a solid, continuous film. If you rush this process, the spheres never fully integrate. The resulting adhesive layer remains structurally weak. It lacks the internal strength required for demanding industrial applications.
Excellent acrylic adhesive coating demands strict environmental and thermal controls. You cannot simply blast high heat at a wet web. The evaporation process requires carefully staged intervention.
The first oven section requires moderate temperatures and gentle airflow. This specific approach prevents the adhesive surface from drying prematurely. We call this premature surface drying "skinning." A skinned surface creates a rigid barrier. It traps subsurface water effectively. Moisture cannot escape through the hardened top layer. You must allow deeper water molecules time to migrate to the surface slowly. Initial zones should focus on warming the fluid mass without shocking the outer boundary.
Later oven stages apply maximum thermal energy. High heat drives out any stubborn residual moisture trapped near the substrate interface. This aggressive temperature spike also triggers necessary chemical cross-linking reactions. The polymer network solidifies fully under this intense heat. Ensure your final zone temperatures do not exceed the thermal distortion limit of your specific web material.
Airflow matters just as much as pure temperature. High-velocity impingement air breaks the critical moisture boundary layer. As water evaporates, vapor naturally rests directly on the moving web. It forms a saturated micro-climate hovering above the liquid. Without strong airflow, this humid layer blocks further evaporation entirely. You need forceful, targeted air nozzles to sweep this saturated vapor away continuously. Impingement nozzles force dry air into the wet layer, accelerating mass transfer.
Plant environments fluctuate constantly. Seasonal changes alter ambient humidity significantly. High summer humidity extends required drying times. The ambient air already holds substantial moisture, reducing its capacity to absorb more. You must adjust formulation rheology or reduce line speeds accordingly during humid months. Conversely, dry winter air speeds up evaporation. This winter shift increases the risk of surface skinning if you do not adjust initial zone temperatures.
Table 1: Standard Oven Zone Progression Strategies
Oven Zone | Temperature Range | Airflow Velocity | Primary Objective |
|---|---|---|---|
Zone 1 (Initial) | 60°C - 75°C | Low to Medium | Gentle surface evaporation, prevent skinning. |
Zone 2 (Middle) | 75°C - 90°C | High Impingement | Bulk water removal, disrupt boundary layer. |
Zone 3 (Final) | 90°C - 120°C | Maximum | Drive out residual moisture, activate cross-linkers. |
Even minor deviations in your drying profile cause severe quality issues. Process engineers must recognize these distinct defects early. Identifying the exact symptom helps you trace it back to the specific oven parameter causing it.
"Skinning" and Blistering
Applying intense heat immediately causes surface skinning. The top polymer layer polymerizes too fast. Liquid water continues to boil underneath this hardened skin. The expanding water vapor pushes upward. Microscopic trapped water pockets form visible blisters across the web. These blisters severely compromise final tack and peel strength. The adhesive feels rough rather than perfectly smooth. To fix this, lower the temperature in your first oven zone immediately.
Water Blushing (Opacity)
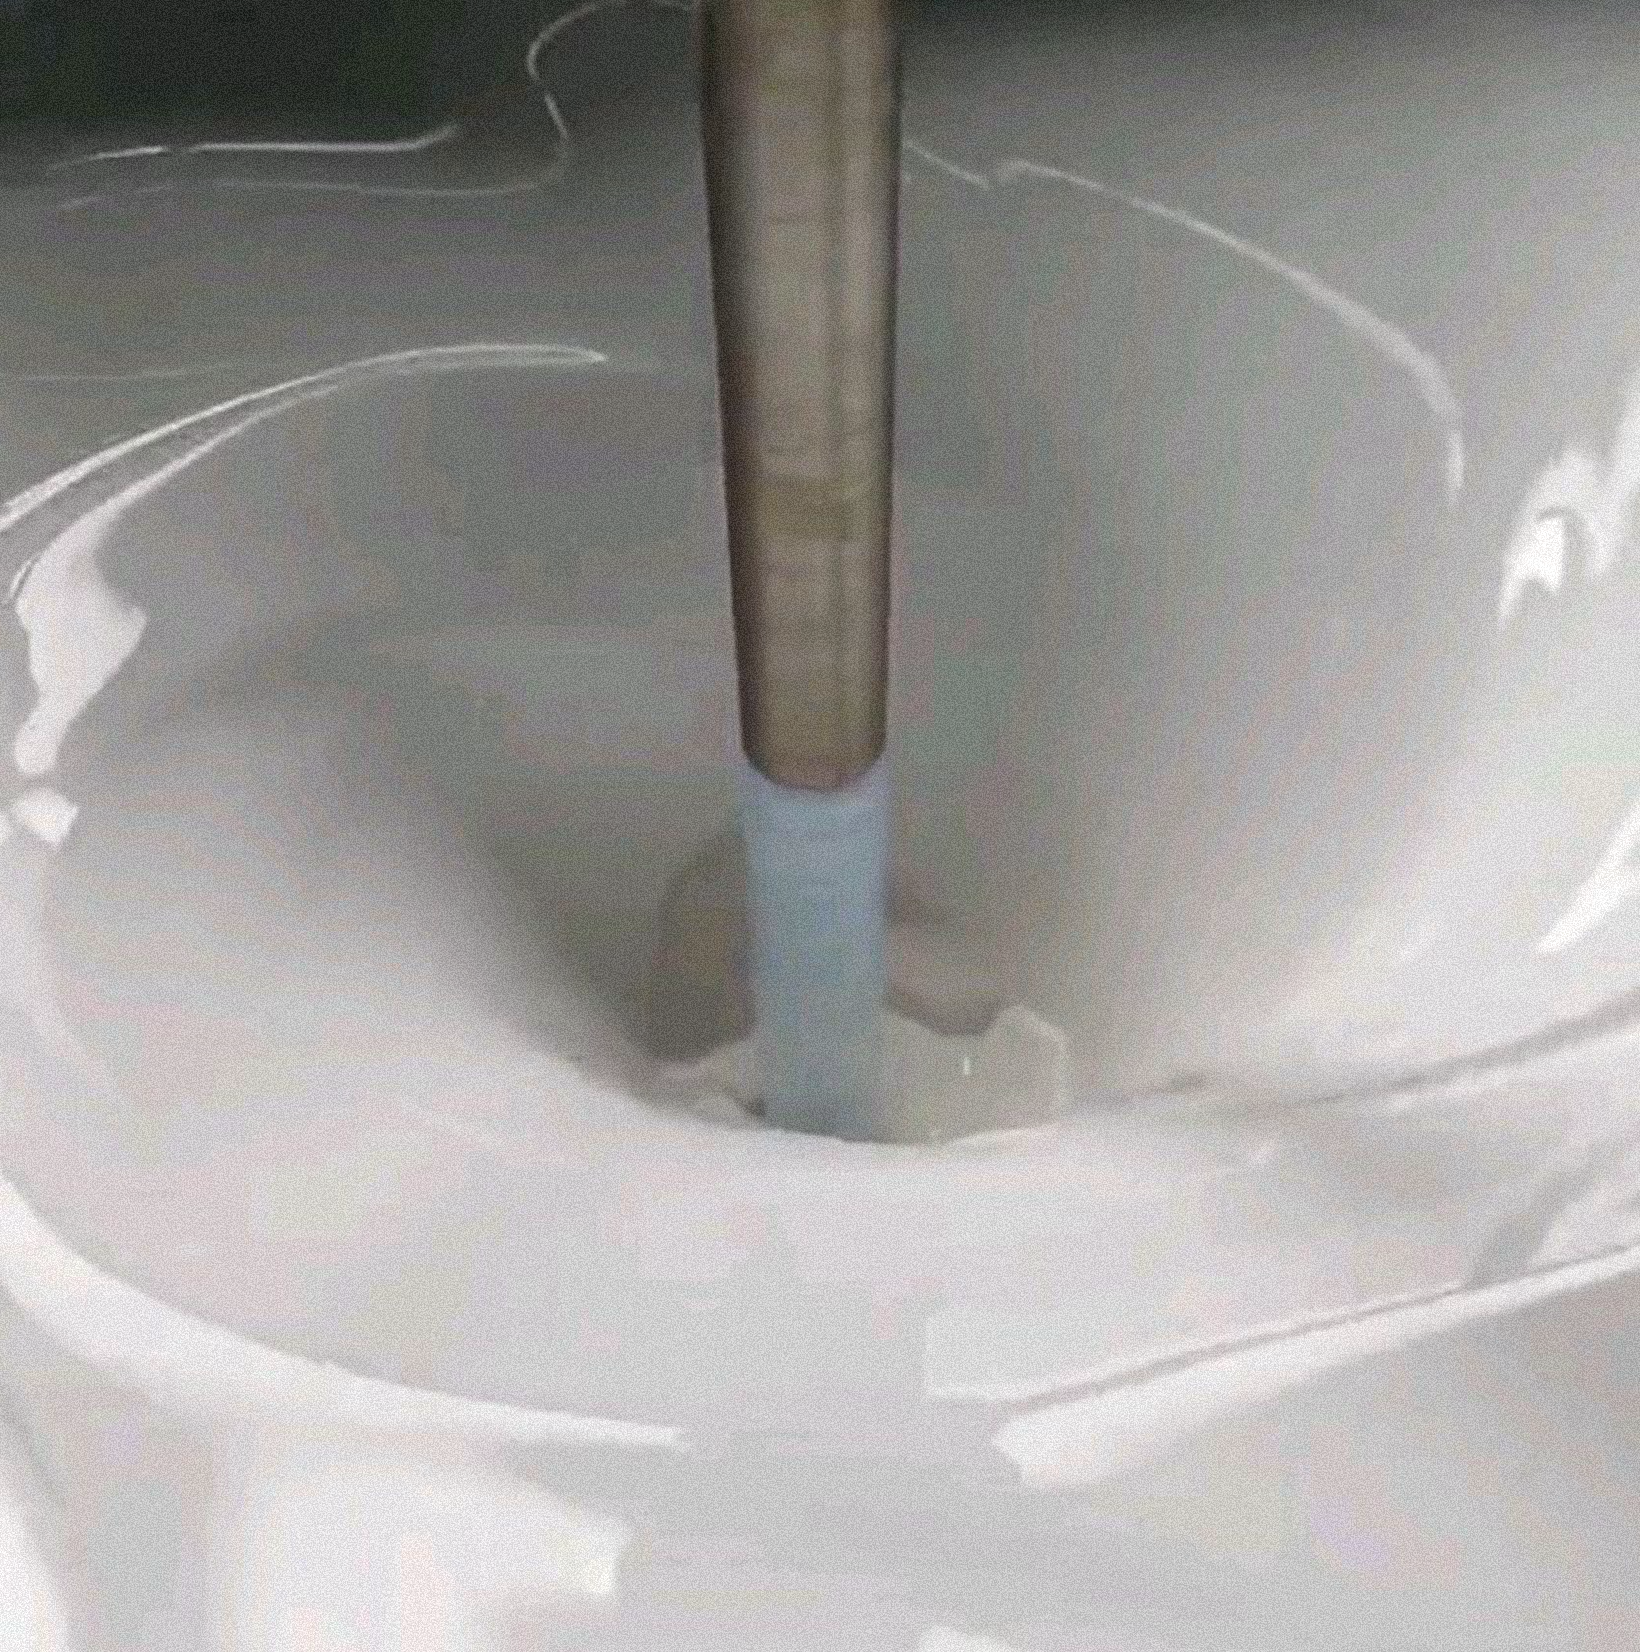
Incomplete drying leaves the adhesive film cloudy or milky. Industry professionals call this specific defect water blushing. It indicates trapped moisture remains inside the acrylic matrix after wind-up. This flaw ruins clear film labels entirely. Optical tape applications fail quality inspection immediately. The trapped water refracts light, causing the hazy appearance. Increasing overall oven dwell time usually resolves water blushing. You might also need to increase impingement air velocity in the middle zones.
Loss of Cohesive Strength (Shear)
Residual moisture acts as a chemical plasticizer. It softens the internal acrylic matrix artificially. This softening reduces cohesive strength drastically. The adhesive film fails under sustained shear stress. Tape slides off vertical surfaces over time. Die-cutting becomes messy as the soft adhesive oozes out the edges. If your shear strength tests fail unexpectedly, suspect residual moisture before blaming the base chemistry.
Common Mistakes to Avoid:
Relying solely on temperature increases rather than optimizing airflow.
Ignoring seasonal humidity shifts on the production floor.
Using the exact same oven profile for paper substrates and film substrates.
Assuming a clear appearance guarantees complete cross-linking.
Choosing the right water based pressure sensitive adhesive requires strict equipment alignment. You must match fluid properties to your physical oven realities. Never purchase an adhesive without auditing your drying capacity first.
Solid Content vs. Drying Load
Higher solids content means less actual water to evaporate per square meter. Less water allows for faster line speeds. You spend less energy driving off moisture. However, high solids alter fluid rheology drastically. High viscosity challenges the coating head mechanics. It may cause streaks, ribbing, or uneven coat weights. You must strike a balance. A 60% solids formulation dries fast but might require specialized slot die adjustments. A 50% solids formulation flows easily but demands longer oven dwell times.
Formulation Customization
Great suppliers tweak internal surfactant packages. They adjust proprietary cross-linkers to match your exact oven lengths. They optimize the chemistry for your specific dwell times. A fast-activating cross-linker suits short ovens. A slow-activating version prevents premature gelling in longer setups. Always ask your chemical supplier how they modify formulations for different machine speeds.
Energy Consumption & Scalability
Water requires immense thermal energy to evaporate. The latent heat of vaporization for water is roughly 2,260 kJ/kg. Compare this heavy load against traditional solvent-based expectations. Check your exhaust capacity thoroughly. Ensure your HVAC handles the heavy moisture load safely. If exhaust fans fail to keep up, vapor condenses on the oven ceiling. This condensation eventually drips back onto the moving web. Chemical drips ruin the entire master roll instantly.
Move methodically when qualifying new adhesive partners. Treat the transition as a joint engineering project rather than a simple material purchase. Follow a structured validation process to minimize operational risks.
Auditing Your Line First
Document your current exact oven lengths for each heating zone.
Map the nozzle configurations carefully (flotation vs. single-sided impingement).
Note the maximum safe temperature your chiller rolls can handle post-oven.
Record the precise cubic feet per minute (CFM) of exhaust airflow.
Measure typical ambient humidity ranges in your facility across different seasons.
Complete this audit before requesting any liquid adhesive samples. Share this precise data with your prospective suppliers. They need this context to recommend the correct solid content and viscosity.
The Necessity of Pilot Trials
Lab-scale drawdowns rarely simulate production-scale dynamics accurately. A static lab oven lacks dynamic, high-velocity impingement air. It also lacks the web tension of a real production line. You must run narrow-web pilot trials. Pilot runs reveal true drying behavior under physical tension. They highlight edge-curling risks or blistering tendencies. Use pilot trials to test maximum line speeds safely before committing to full production master rolls.
Data-Backed Validation
Demand detailed technical data sheets (TDS). Look for explicit drying profiles. Avoid suppliers relying on vague "dry to touch" claims. You need precise time and temperature curves. A quality supplier provides empirical data showing moisture retention percentages against specific oven dwell times. They should also provide shear strength recovery data based on varying exit temperatures.
Optimizing your water-based drying process remains a continuous mechanical and chemical balancing act. Equipment constraints meet fluid realities every single shift. Success depends entirely on aligning actual oven capabilities with smart, tailored adhesive chemistry. By managing temperature zones strictly and leveraging impingement airflow, you eliminate costly defects like blistering and water blushing.
To implement these improvements effectively, focus on immediate physical assessments. Audit your current oven impingement velocity today. Request a technical consultation regarding cross-linker activation profiles. Schedule a narrow-web pilot coating trial to validate faster line speeds safely. Demand dynamic drying curves from your current chemical supplier to ensure you are not leaving production efficiency on the table.
A: There is no single ideal temperature. You must use zoned heating. Begin initial zones around 60-70°C to evaporate surface moisture gently. Gradually ramp final zones to 100-110°C. This drives out deep moisture and activates cross-linkers. Always adjust based on your specific web heat tolerance.
A: Cloudiness indicates water blushing. It happens when moisture fails to evaporate completely before the web winds up. The trapped water acts as an impurity within the polymer matrix. Increasing oven dwell time or optimizing impingement airflow usually resolves this opacity issue entirely.
A: No. Simply raising the temperature risks severe surface skinning. The top layer dries too fast, trapping liquid underneath. The trapped water then boils, causing pinholes and blisters. You must balance any increased temperature with higher impingement airflow and proper zoned heating staging.
A: Solid content shares an inverse relationship with drying time. Higher solids mean less actual water exists in the formulation. Less water requires less thermal energy to evaporate. This allows for potentially faster line speeds. However, you must carefully monitor the resulting higher viscosity at the coating head.


