Views: 0 Author: Site Editor Publish Time: 2026-10-28 Origin: Site


Removing masking tape is the final hurdle in any painting project. You spend hours meticulously prepping a room, covering floors, and taping off trim. Mistiming this final step can completely ruin your hard work. Pull the tape too early, and wet paint quickly seeps into clean areas. This destroys your crisp edges and forces you to wipe away smears. Leave it too long, and the adhesive bonds stubbornly to the surface. It might even pull chunks of cured paint off alongside it. Dealing with these errors causes immense frustration for DIYers and destroys profit margins for professionals.
This guide outlines the exact timelines you need for flawless results. We evaluate different tape materials and share the risk-mitigation techniques professional painters use daily. You will learn how to sync your removal process to the paint's drying phase perfectly. We will help you achieve razor-sharp lines and eliminate costly rework on your next project.
Optimal Timing: The safest removal window is when the paint is dry to the touch but has not fully cured (typically 1 to 2 hours after the final coat).
Material Matters: Standardizing on the right product—from standard paper tape for paint masking to advanced washi formulations—dictates your safe-removal timeline.
Removal Technique: Pulling tape at a steady 45-degree angle and scoring bridged paint prevents surface damage and costly touch-ups.
Environmental Impact: High humidity and extreme temperatures directly alter both paint drying times and adhesive bonding rates, requiring adjusted removal schedules.
Achieving perfect paint lines requires understanding the physical chemistry happening on your walls. You must manage two distinct materials undergoing simultaneous transformations. The paint is drying, while the tape adhesive is slowly curing to the substrate.
Stripping freshly cured paint destroys project timelines. It forces you to stop progress, patch the damaged drywall, wait for the compound to dry, sand it smooth, and repaint the entire section. Leaving stubborn adhesive residue creates a similar nightmare. You must scrape the sticky residue off carefully using chemical solvents. These harsh solvents often damage the underlying clear coats or delicate trim finishes. Eliminating these risks keeps your project moving forward smoothly and protects your bottom line.
Successful tape removal requires evaluating two competing timelines. You must closely monitor the drying phase of the paint versus the curing phase of the tape's adhesive backing. Paint transitions from a wet liquid into a solid, cohesive film. Meanwhile, pressure-sensitive adhesives (PSAs) on the tape act like a slow-moving liquid. The longer they sit, the deeper they flow into the microscopic pores of your trim or drywall. You want to remove the tape just as the paint stops running, but before the adhesive locks itself permanently into the substrate.
Professional painters measure masking success using three strict criteria. First, a successful masking strategy results in zero bleed-through along the edges. Second, it leaves zero adhesive residue behind on the glass, wood, or drywall. Third, it causes zero substrate damage upon removal. Achieving these three metrics requires strict adherence to proper timing and removal techniques.
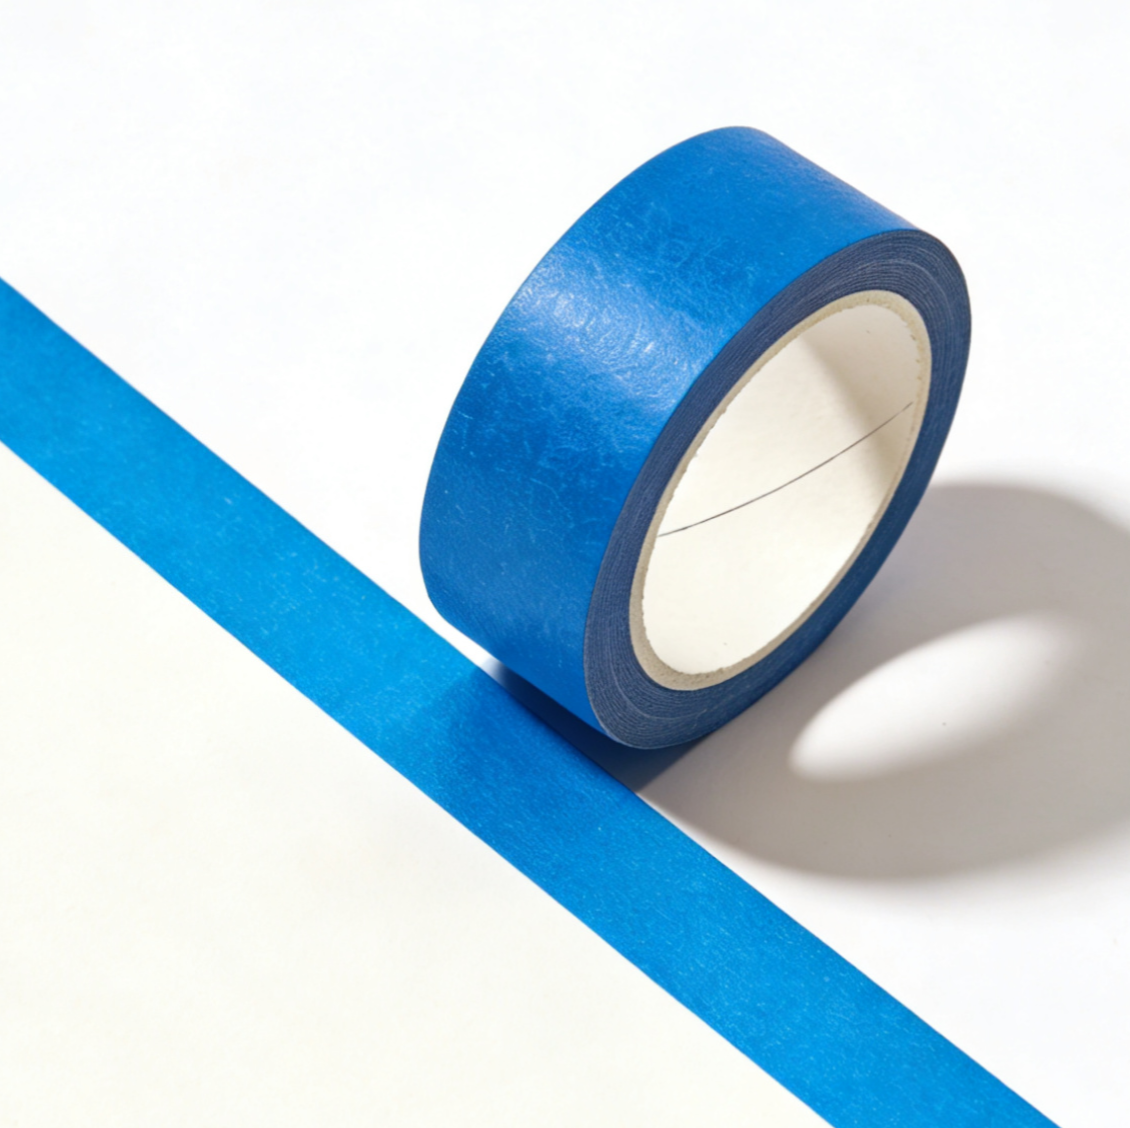
Timing dictates the difference between a ragged edge and a flawless, sharp line. You must learn to identify the specific drying phases of your paint to execute the perfect removal.
You should remove tape exclusively during the "dry-to-the-touch" phase. During this window, the paint feels dry on the surface but remains slightly flexible underneath. Fully cured paint creates a solid, rigid film. This hardened film stretches continuously over both the wall and the tape. Pulling the tape at this late stage tears the paint film aggressively. It leaves jagged, uneven edges along your trim and ruins the aesthetic.
Standard latex paints dry relatively quickly under normal interior conditions. You should generally remove tape 1 to 2 hours after applying the final coat. This window provides the perfect balance. The paint will not run, drip, or sag into unwanted areas. At the same time, the paint film remains pliable enough to slice cleanly as you pull the tape away.
Most professional painting projects require a coat of primer and two topcoats. Leave the tape in place between these successive coats. Do not waste time removing and reapplying fresh tape for every single layer. The tape can handle the buildup of multiple wet layers over a day. However, you must adhere strictly to the 1–2 hour removal window immediately following your final application.
Leaving tape on past 24 hours increases your risks exponentially. The adhesive begins polymerizing with the substrate beneath it. It hardens and practically becomes one with the surface. Removing it days later often requires applying heat guns or harsh chemical solvents. These corrective measures can easily ruin your fresh paint job and damage delicate wooden trim.
Different projects demand entirely different masking solutions. Standardizing on the right product dictates your safe-removal timeline. Using a cheap tape for a premium application guarantees failure.
Standard paper tape for paint masking works best for short-term, basic applications. Painters use it primarily alongside thick latex paints on sturdy surfaces.
Best for: Quick, single-day jobs, protecting baseboards from thick roller splatter, and masking off durable, unpainted surfaces.
Limitations: It features a heavily textured crepe paper backing. This backing easily absorbs moisture from wet paint if left too long, causing the tape to swell and bleed. Furthermore, the aggressive adhesives limit your safe-removal window to just a few hours. If you leave it on overnight, you risk severe surface damage.
Advanced washi paper masking tape delivers premium, professional-grade finishes. It protects sensitive substrates perfectly and handles extended project timelines.
Best for: Premium gloss finishes, delicate freshly painted walls, faux finishing, and complex projects requiring razor-sharp lines.
Evaluation: Its ultra-thin paper profile physically prevents heavy paint build-up at the tape edge. This thinness guarantees a sharper line than bulky crepe paper. The specialized low-tack adhesive allows for safe removal days or even weeks after initial application. It leaves absolutely no residue behind, making it a favorite for multi-week renovations.
Specialized masking tape for spray painting handles demanding, high-pressure environments. It excels in professional shops and industrial settings.
Best for: HVLP sprayers, airless sprayer applications, automotive detailing, or heavy industrial use.
Evaluation: Manufacturers engineer this tape to withstand high-velocity paint application. It resists heavy solvent loads from oil-based paints and lacquers effectively. Removal timelines are typically much faster in these scenarios. You are often applying rapid-flash coatings that dry in minutes. The high-tack adhesive grabs tight to prevent blowout from the sprayer pressure.
Table 1: Masking Tape Category Comparison
Tape Category | Primary Backing Material | Adhesive Strength | Maximum Safe Removal Time | Best Application Scenario |
|---|---|---|---|---|
Standard Painter's Tape | Crepe Paper | Medium to High | 1 to 3 days | Basic interior walls and trim. |
Washi Tape | Japanese Washi Paper | Low to Medium | 14 to 60 days | Delicate surfaces and razor-sharp lines. |
Spray Painting Tape | Reinforced Paper or Film | High | Immediately post-flash | Automotive and airless sprayer masking. |
Even if you choose the perfect tape and time it flawlessly, poor physical technique can still ruin your paint job. Mastering the mechanics of pulling tape minimizes surface tension and protects the fresh paint film.
Establish the 45-Degree Rule: Always pull the tape back onto itself at a strict 45-degree angle. This technique distributes tension evenly across the adhesive. It cleanly slices the paint film directly at the tape edge. Pulling straight up at a 90-degree angle pulls the fresh paint away from the wall. This aggressive upward motion causes peeling, chipping, and uneven lines.
Pace the Pull: Maintain a slow, steady, and continuous motion. Pacing matters immensely during removal. Jerky, rapid movements increase the risk of snapping the tape in half. They also increase the likelihood of peeling the underlying substrate. If you feel excessive resistance or hear the tape tearing, slow down immediately. Let the adhesive release naturally.
Score Bridged Paint: Sometimes the paint dries completely before you can remove the tape. The paint forms a solid, thick bridge over the tape edge. Do not pull the tape if this happens. Gently score this edge before pulling. Use a sharp utility knife or a precision razor blade. Barely break the surface tension of the paint film. Do not press hard enough to cut deeply into the drywall or scratch the wooden trim below.
Paint drying times and adhesive curing rates do not exist in a vacuum. The climate inside your workspace heavily dictates how these materials behave. You must adjust your removal schedules based on the ambient environment.
Room temperature plays a massive role in adhesive behavior. High heat accelerates adhesive bonding significantly. It practically bakes the adhesive into the surface. The tape backing becomes brittle, and the adhesive turns gummy. This makes clean removal nearly impossible. Conversely, freezing temperatures create the opposite problem. Extreme cold can cause adhesives to fail entirely. The tape loses its tack and falls off the wall before you even finish painting your first coat.
Moisture in the air changes everything. High humidity slows paint drying times dramatically. The ambient moisture stays locked inside the paint film, preventing it from evaporating. This extends the waiting window before the paint actually feels "dry to the touch." In a humid bathroom or basement, you may need to wait 3 or 4 hours instead of the standard 1 hour. Always test an inconspicuous edge of the paint lightly with your finger before pulling your tape lines.
Direct sunlight creates severe complications for exterior painting jobs. UV rays bake the adhesive into the siding or window frames rapidly. Standard tape degrades, turns yellow, and shreds into tiny pieces upon removal. You must specify specialized UV-resistant tapes for any outdoor work. Alternatively, you must plan to remove standard masking tape immediately after the paint sets up, never leaving it exposed to the sun overnight.
Flawless paint lines require careful synchronization and preparation. You must strictly time your tape removal with the paint's dry-to-the-touch phase. Pulling tape while the paint remains slightly pliable ensures clean, crisp edges without tearing the film. Furthermore, choosing a tape engineered for your specific timeline and surface type guarantees you avoid sticky adhesive residue.
Before launching your next painting project, take a few minutes to plan your masking strategy. Evaluate your room's environment, noting temperature and humidity. Check your specific paint type for recommended drying specifications. Shortlist the correct masking material for the job. Standardize these removal techniques across your team to eliminate frustrating touch-ups. Treat masking not just as prep work, but as the foundation of a professional finish.
A: It depends heavily on the tape type. Standard masking tape may leave sticky residue or peel existing paint if left overnight. The adhesive bonds too quickly. However, specialty painter's tape or premium washi tape utilizes low-tack adhesives. These can safely remain on surfaces for days or even weeks without causing damage.
A: Stop pulling immediately. Take a sharp utility knife or a fresh razor blade. Lightly score the seam exactly where the tape meets the painted surface. This breaks the tension in the paint film. Once scored, resume pulling the tape slowly at a 45-degree angle.
A: Yes, it changes the timeline significantly. Oil-based paints cure through oxidation and take much longer to dry to the touch compared to water-based latex paints. You will require a longer wait time—often several hours—before the tape can be safely removed without smearing the wet oil finish.


